***DO NOT RUN POWER WIRES TO THE ACTUAL CONTROLLER; RUN ALL WIRES TO THE RELAY BOARD***
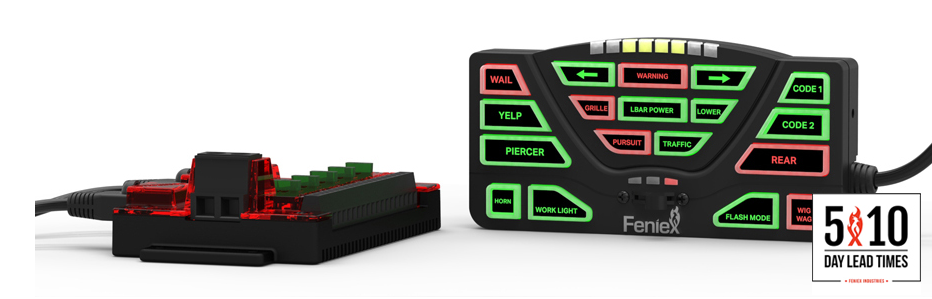
Please note that upon purchase, the 4200 Data Link Controller will come with a new label sheet to change the button names to your preference.

Step 1: Run a 12-14 gauge wire to a known good ground location (typically the negative battery post (12v-)) and run the wire to the main negative slot on the 4200DL relay board.
Step 2: Run a 12-14 gauge wire to the positive battery post (12v+) and run the opposite end (with fuse attached) to the main positive slot on the 4200DL relay board.
Step 3: Begin wiring in your products into the appropriate outputs and ports.
Step 4: Download the correct software for your controller.
Step 5: Program your controller through the computer software to match the products you have wired into the outputs.
Step 6: Test functionality; if some products do not work inspect your wiring and programming.
Step 7: If all of your wiring/programming is correct and the product is not overloaded, please contact Feniex Technical Support for assistance (1-800-615-8350).
For all other 4200 Data Link Controller inquiries please see the appropriate articles or go to our website and research the literature for this product.